Projects
You create a project to which you add members and cloud zones so that the project members can deploy their cloud templates to the associated zones.
As the vRealize Automation Cloud Assembly administrator, you create a project for a development team. You can then assign a project administrator or you can operate as the project administrator.
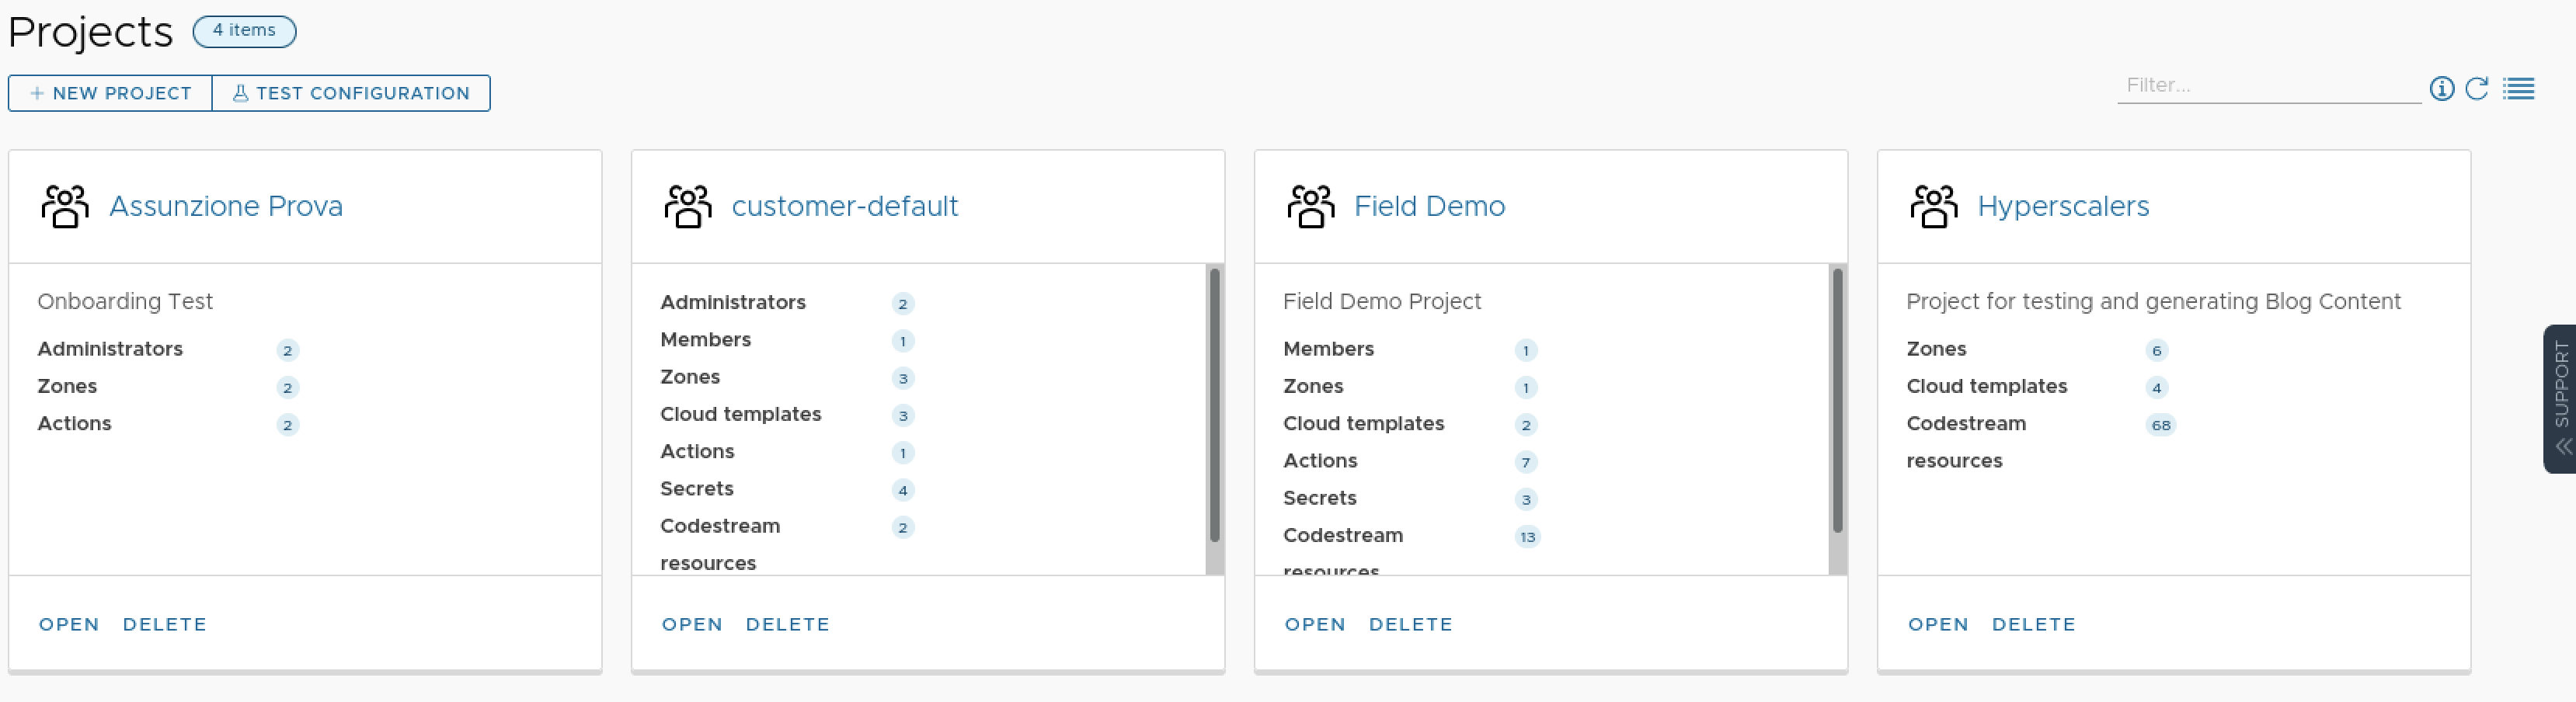
When you create a new Project , you need to
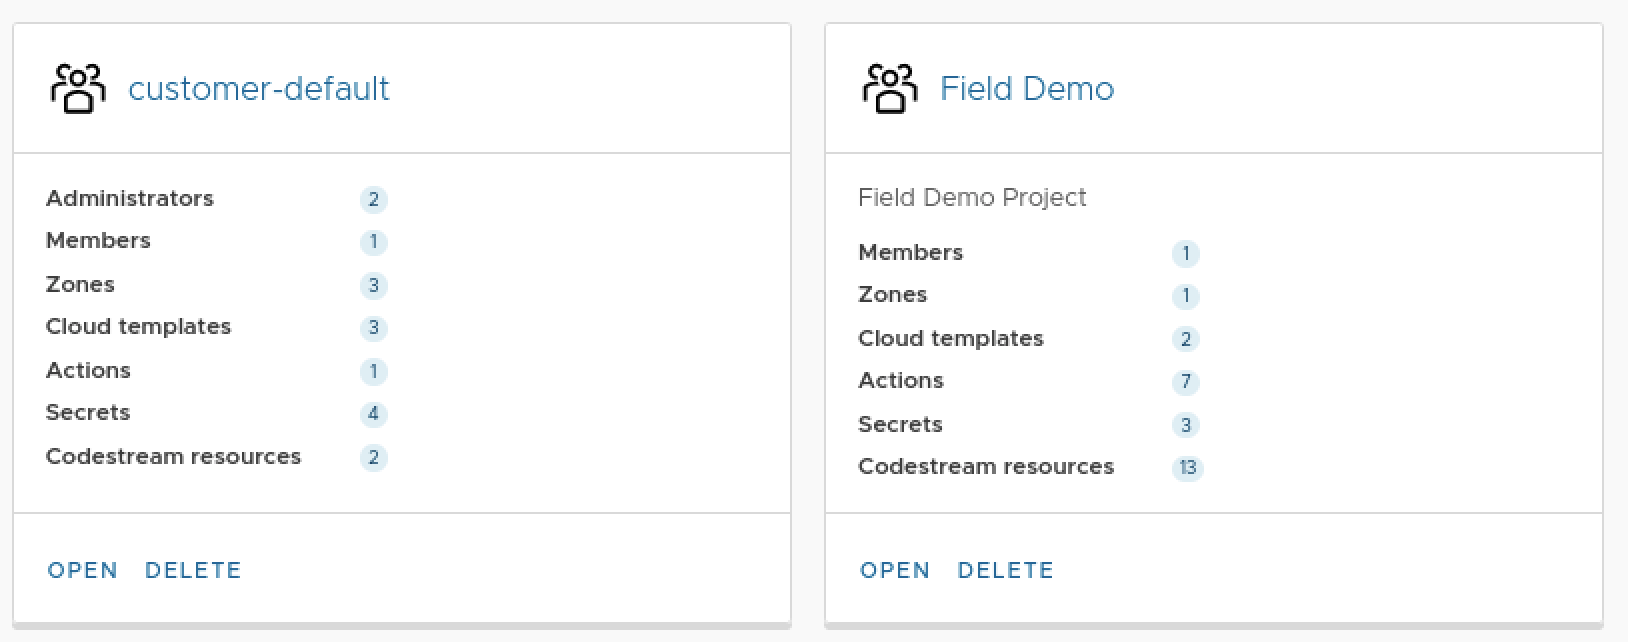
- Give it a name. After the project is created and configure, you will be able to see an Overview of the resources that belong to the project.
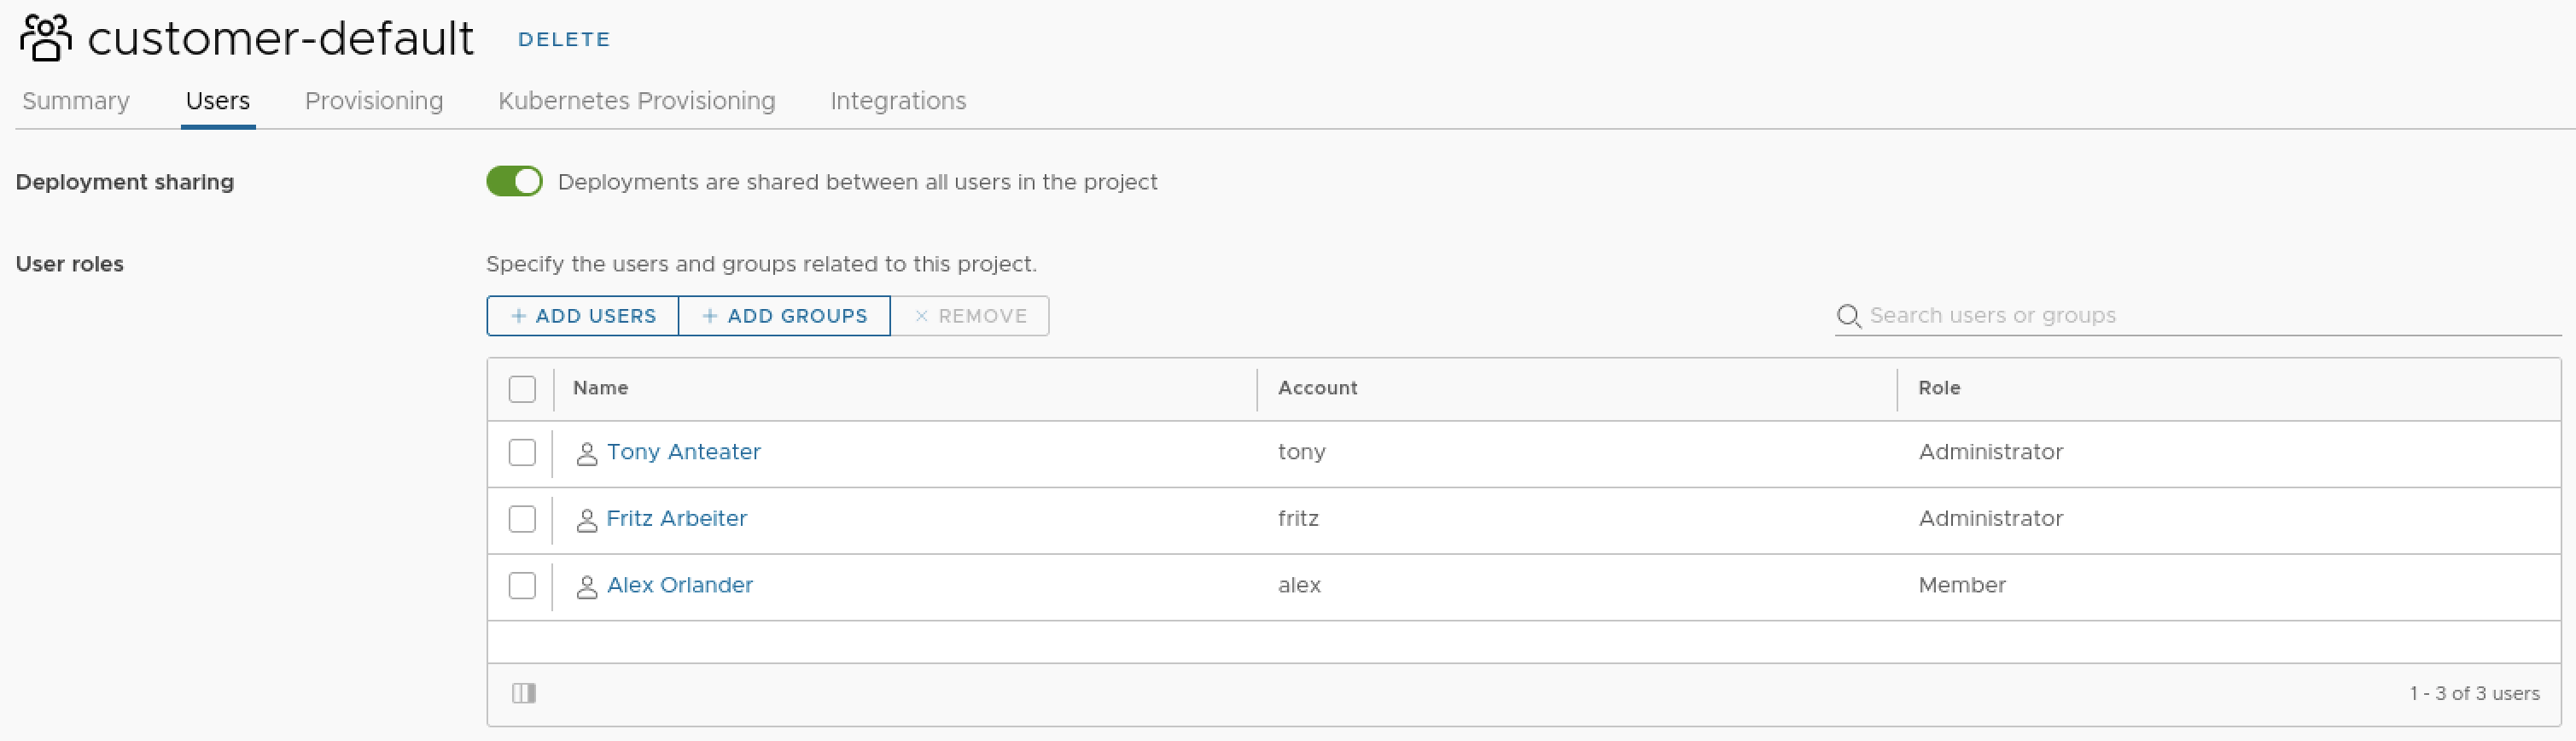
- Click the Users tab. To make deployments by project members accessible only to the requesting user, turn off Deployment sharing. To ensure that you can assign the ownership of a deployment to another member of the project, verify that the Deployment sharing is turned on. Add users with assigned roles.
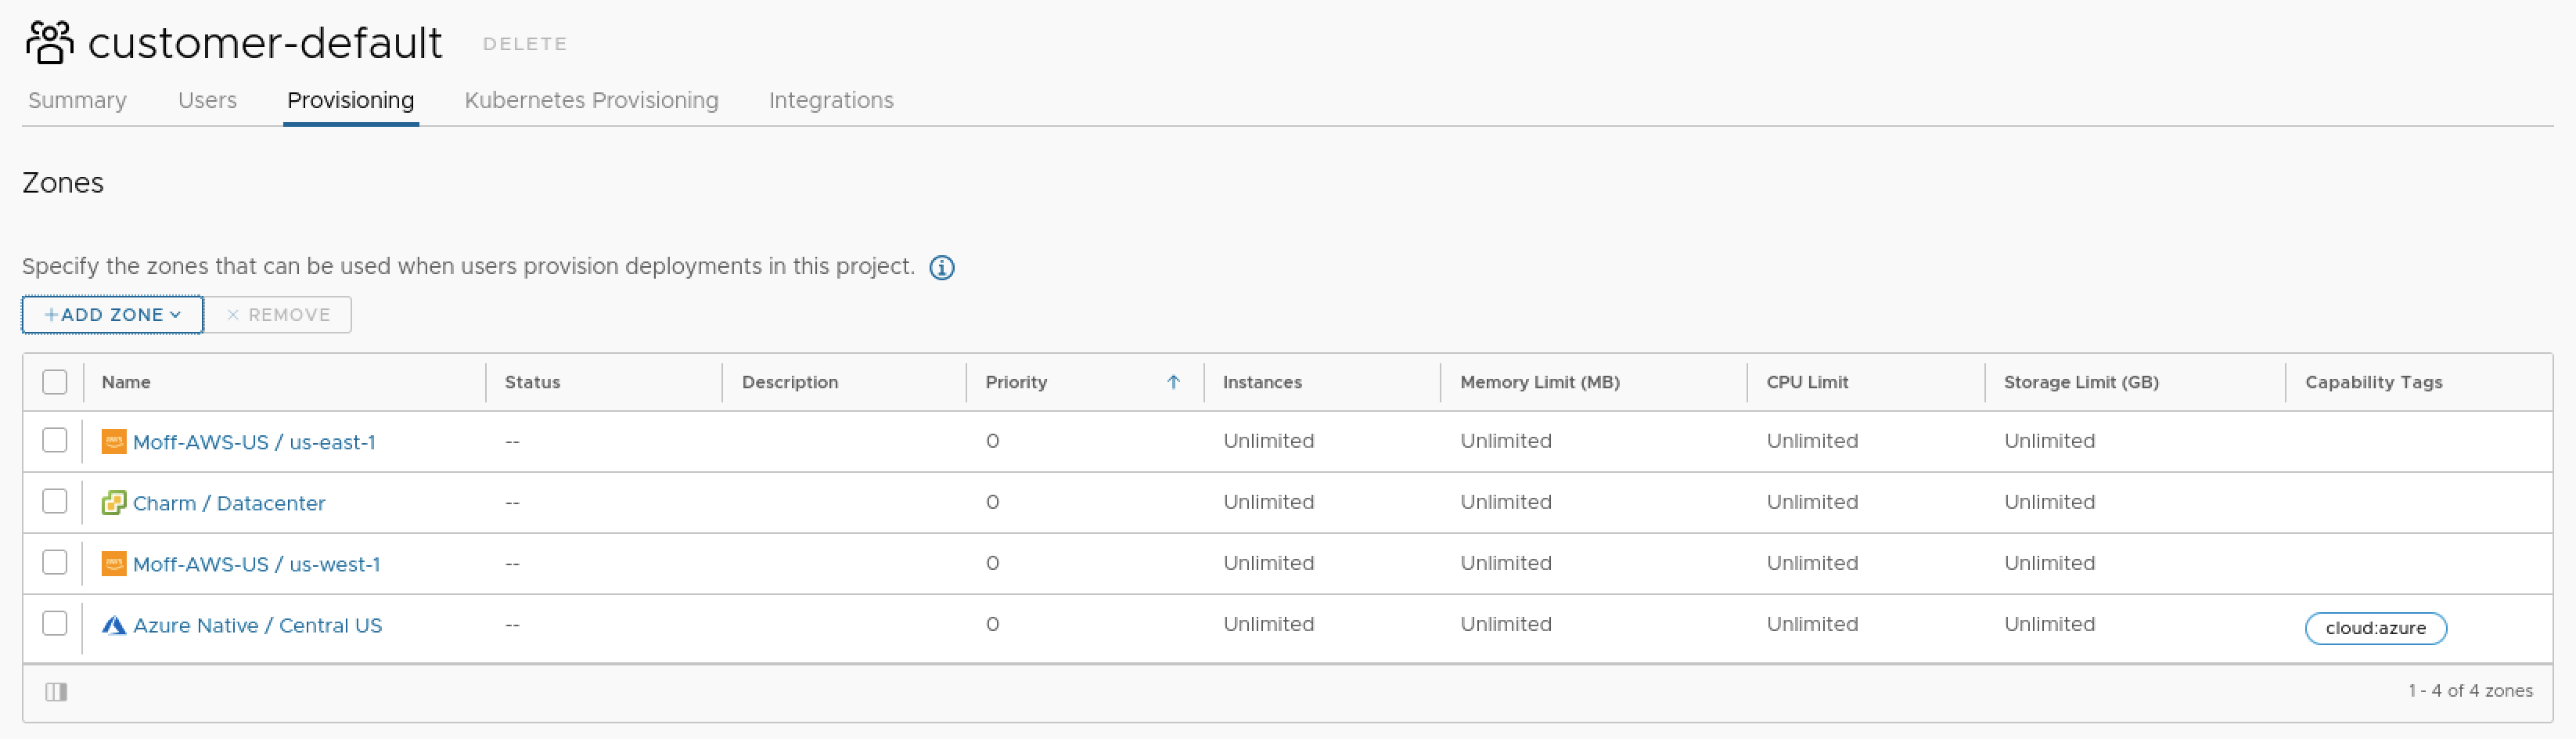
- Click the Provisioning tab and add one or more cloud zones . Add any cloud zones . and virtual private zones that contain the resources that support the cloud templates deployed by the project users.
For each zone, you can set a zone priority and you can limit the amount of resources that the project can use. The possible limits include the number of instances, memory, and CPUs. For vSphere cloud zones only, you can configure storage limits for deployed resources that are based on vSphere VM templates. The storage limits are evaluated with you request deployment and when you make changes using the resize disk, resize boot disk, remove disk, and the update count actions. These storage limits do not apply to other resource types such as AWS, Microsoft Azure, or Google Cloud Platform.
As you add each zone and apply limits, don’t limit the project resources so narrowly that the members cannot deploy their cloud templates .
When your users submit a deployment request, the zones are evaluated to determine which zones have the resources to support the deployment. If more than one zone supports the deployment, then the priority is evaluated and the workload is placed on the one with the higher priority, which is the lowest integer.
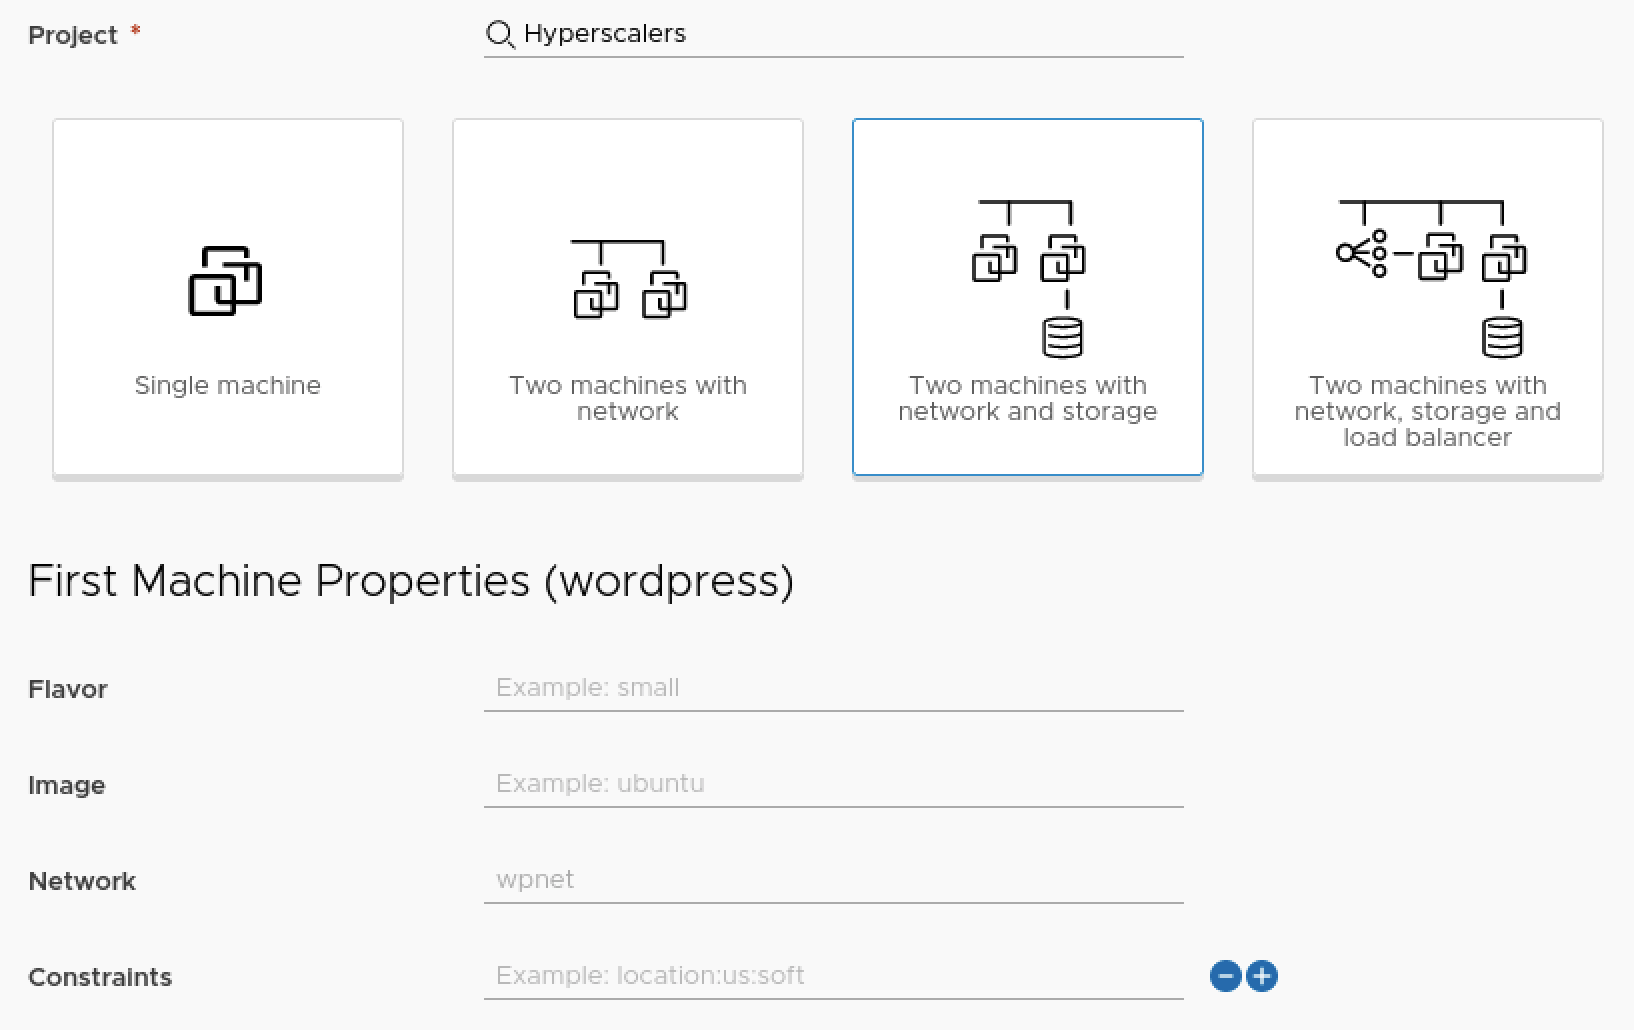
Additionally you can define at a project level:
Resource Tags: Specify the tags to be applied to machines provisioned in this project.
Constraints: Specify constraints that should be applied to all requests in this project.
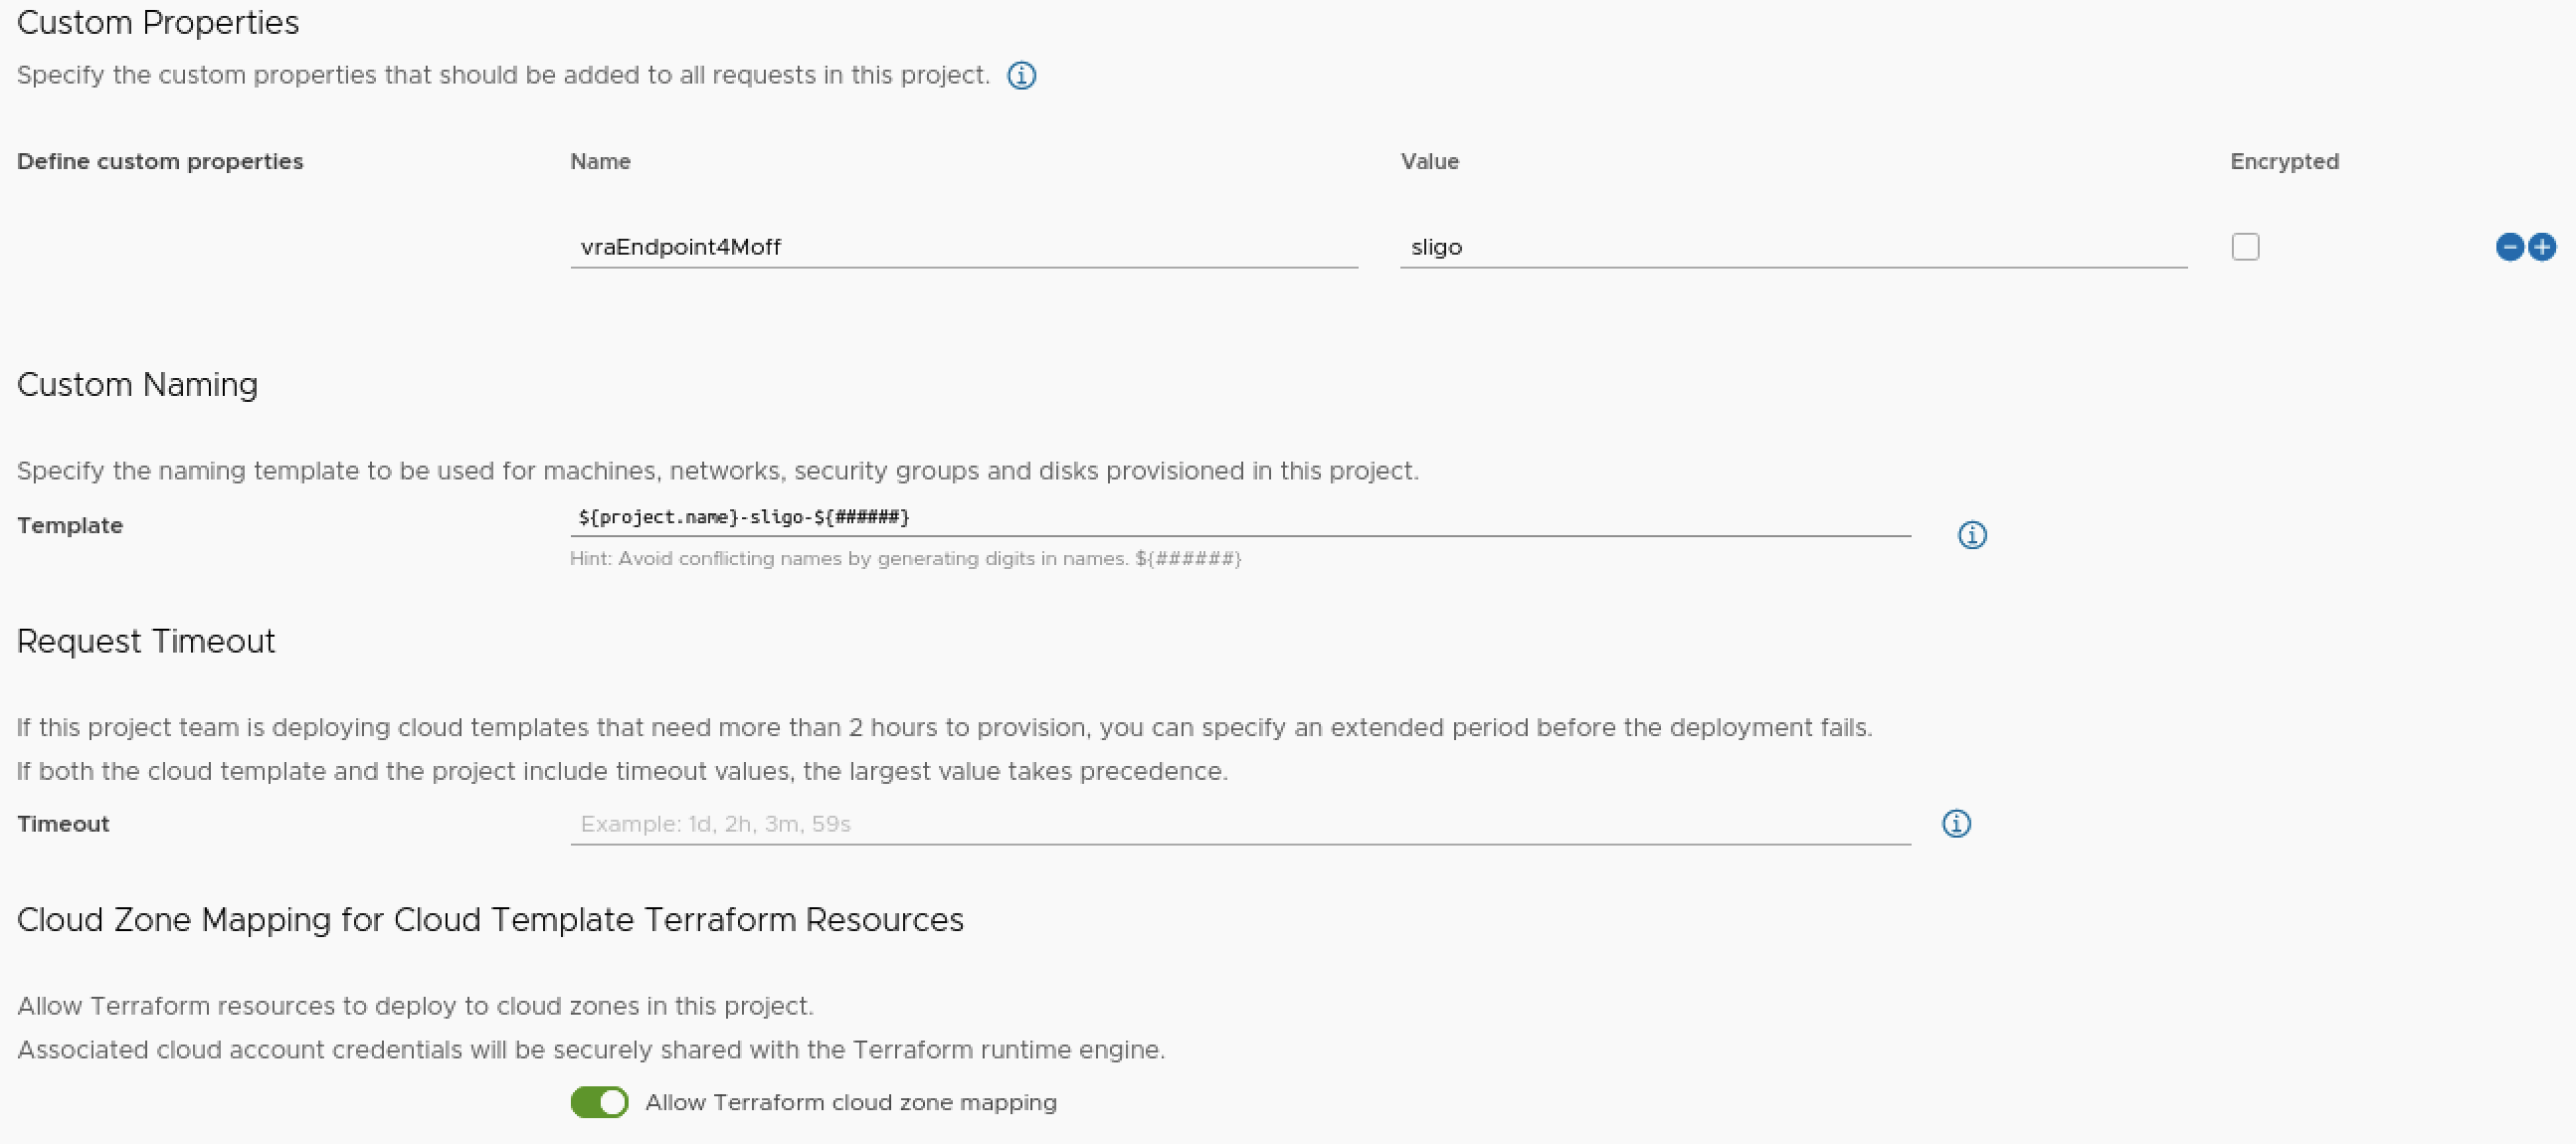
Custom Properties: Specify the custom properties that should be added to all requests in this project.
Custom Naming: Specify the naming template to be used for machines, networks, security groups and disks provisioned in this project.
Request Timeout: If this project team is deploying cloud templates that need more than 2 hours to provision, you can specify an extended period before the deployment fails. If both the cloud templates and the project include timeout values, the largest value takes precedence.
Cloud Zone Mapping for cloud templates Terraform Resources: Allow Terraform resources to deploy to cloud zones in this project.
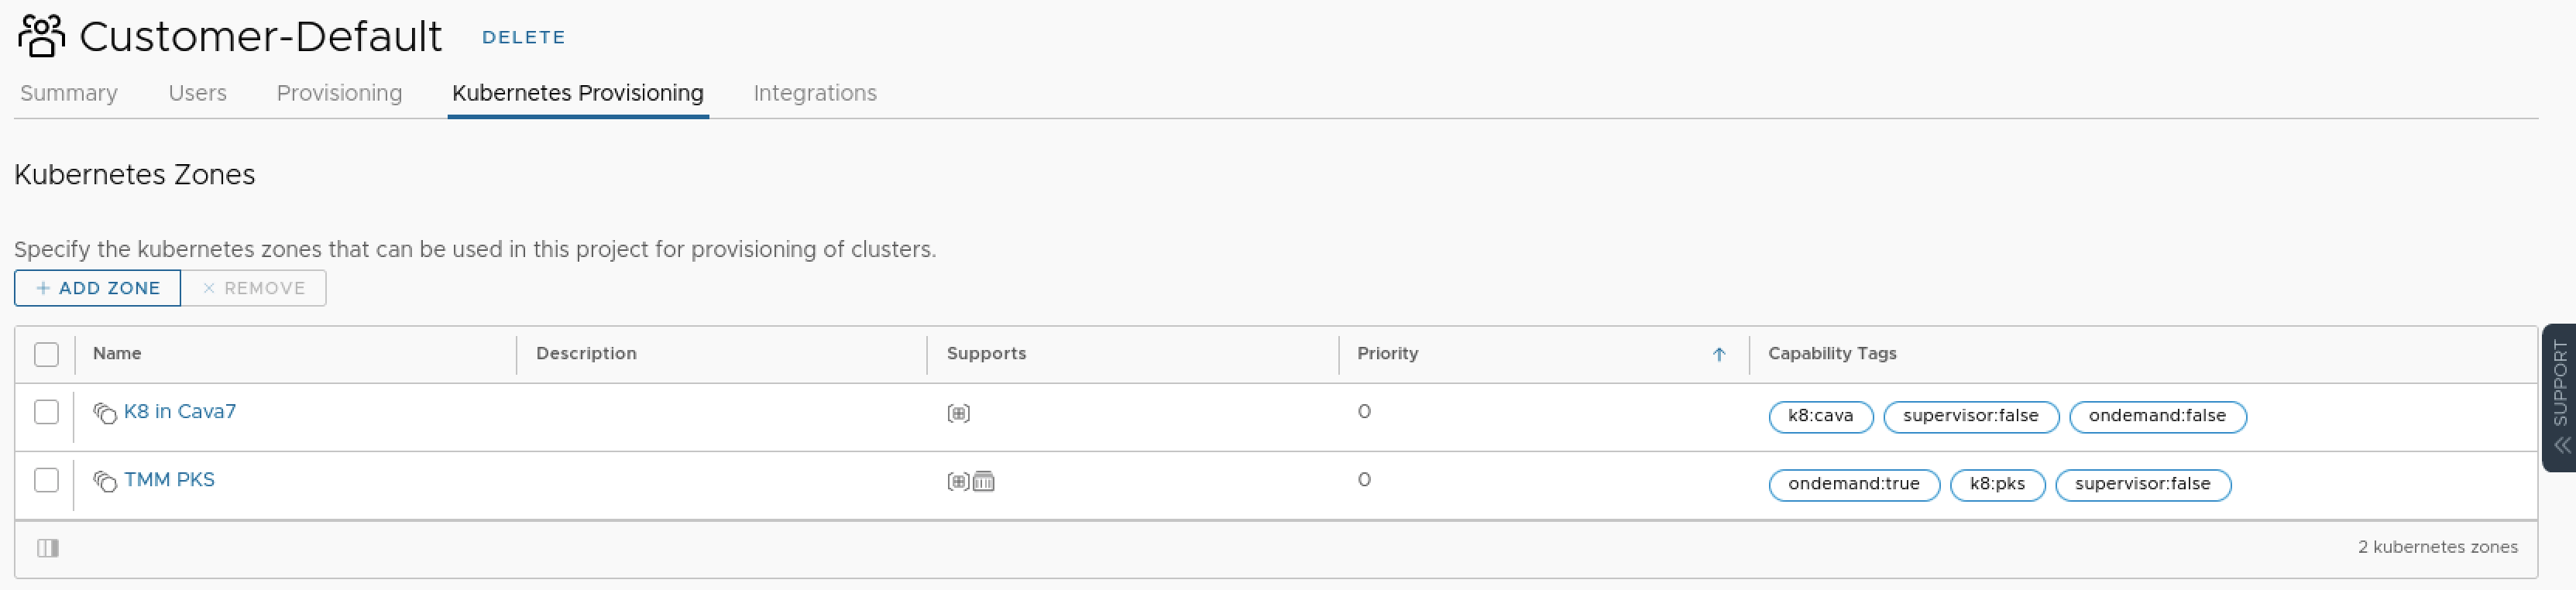
- Specify the kubernetes zones that can be used in this project for provisioning of clusters.
- Click Create.
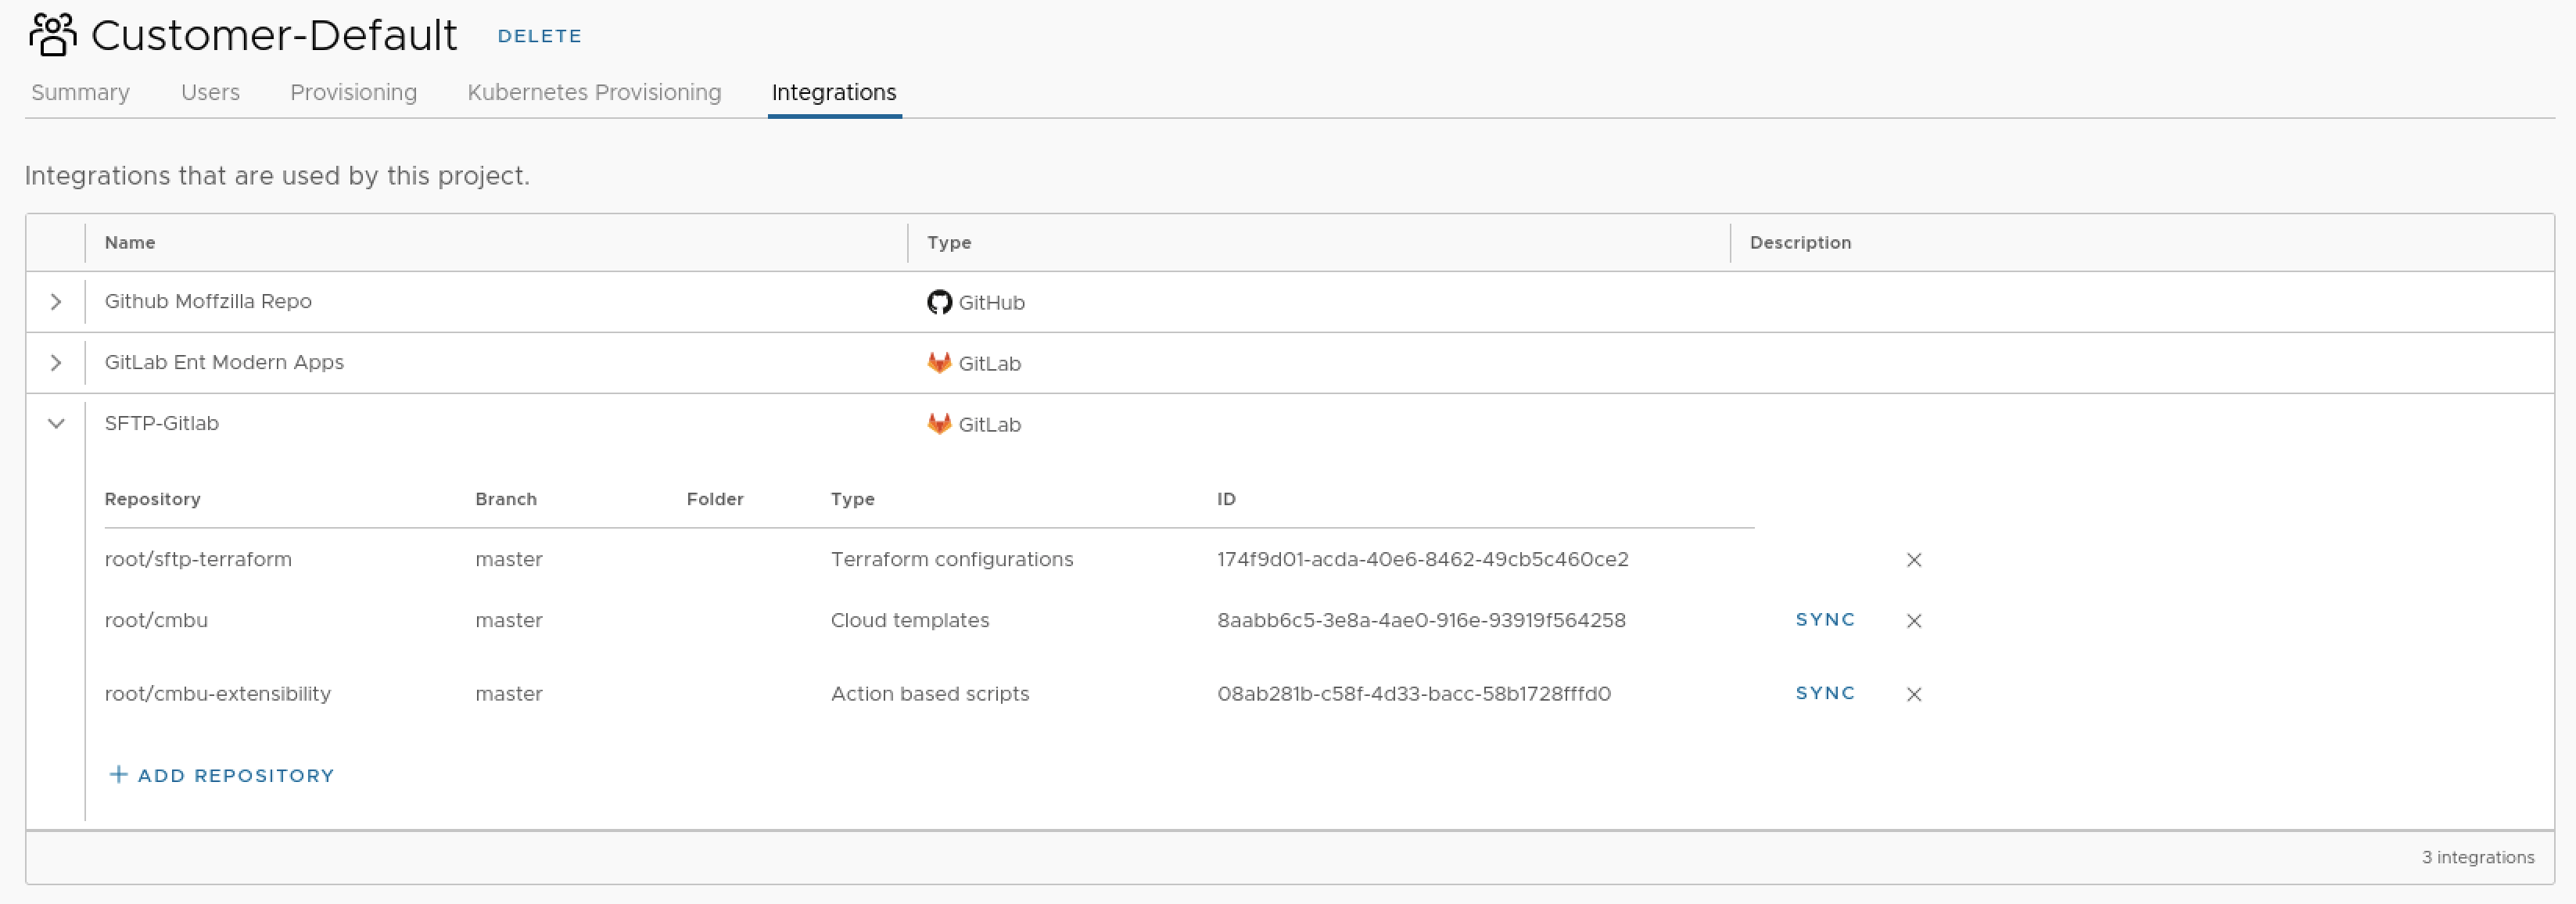
After Creating a project, you have access to the Integration Tab, which exposes the Version Control Servers and Repositories used in the project for cloud templates and Terraform Configuration Files.
Test Configuration
This option validate your configurations, by executing simulated provisioning requests. Based on the provided values, the requests will go through the projects, cloud zones and profiles configurations, however will not make actual provisionings to the cloud account
.